As the digital industry becomes more specialized and popularized, digital photos have gradually become an important source of printed pictures. The digital photos taken by the digital camera are in the JPEG format of RGB colors. Everyone knows that we need to convert them on the PHOTOSHOP to the TIFF format that supports printing CMYK. Unsatisfactory: such as unsaturated colors, lack of layers and contrast, overall feeling gray, flat, and backlit parts, and even some low-end home digital cameras have automatic white balance and automatic exposure functions that are not very good. Under low light conditions, there will be color cast and dark, which requires us to make some adjustments to the picture. After a period of practice and exploration, the author summarizes some simple usage techniques for color adjustment of RGB files into CMYK files, and I will share with you here.
One. Color management settings in Photoshop (taking Photoshop 6.0 as an example)
Before we convert the RGB image to a CMYK image, we must set up the "color separation" in Photoshop "color settings", this step plays a vital role, it will decide to convert to CMYK color after the four-color version Basic version tone. Most of the pictures can be converted according to the default settings, but for some pictures with bad effects, you can achieve better results by changing different settings, laying a good foundation for the later adjustment of the pictures and the quality of the final product.
First, press Ctrl + Shift + K to bring up the Photoshop "Color Settings" dialog box (see Figure 1), and select "Custom CMYK" in the "Workspace" CMYK to bring up the "Custom CMYK" dialog box (such Figure 2), in this dialog box we can see a color separation option bar, there are: color separation type, black plate production amount, ink total limit, UCA number and other options, as well as a gray curve chart, Photoshop default Set to, color separation type: GCR; black plate production: medium; black ink limit: 100%; total ink limit: 400%; UCA quantity: 0 (as shown in figure 3) After RGB is converted to CMYK, according to different tones of different pictures, various settings must be adjusted to achieve the best conversion version. To give a few simple examples, such as shooting landscapes under outdoor sunlight, the general color of digital photos in this environment is better. You can change the version to CMY at 60-70%, K at about 90-95% (using the default settings Yes), and then through the curve and optional colors to adjust, we will introduce the specific adjustment method in the following content, and outdoor characters can adjust the version to YMC70-80%, K90%, and for the darker In the picture, we can set the color separation type: the amount of black version is small, and the total amount of ink is limited to 370%. In this way, the transferred version is more than 90% of YMC and about 85% of K85. In short, the ratio of YMC to K transferred must be determined according to the number of black components in the picture. CMY can be set shorter for rich colors, and the color is not much black. The main component of the picture is darker. CMY can be fixed. The black version is set to be short, close to the basic version of the electronic distribution.
Second, adjust the converted GMYK picture
Photoshop's default settings are about CMY60 ~ 70% and K90 ~ 95%. This is a long-tone black tone. If you do not make adjustments and print directly, the colors will be dull, the layers are unclear, and the contrast is not strong. , Products with little contrast. Our adjustment is to complete the process from long-tuned black to the short-tuned black used in electronic time-sharing. The reason why the transferred version is set to short-tuned black instead of directly converting the picture to long-tuned black is because it can Leave a heavier space for color adjustment by deepening the CMY ratio and reducing the K component to achieve the purpose of deepening the color, improving the contrast, pulling out the level, and expressing the details. We can use the combination of curves and optional colors to convert long-tone black into short-tone black. First, add 60 ~ 70% of the original CMY to more than 90% of the black in the optional color, and reduce K to about 85% ( As shown in Figure 4). This step must be done in optional colors. In the past, there was some wrong way to add CMY to 90% in the curve in order to be lazy. This not only did not add the ideal color level, but made the original YMC in the picture. Such as: sky, flowers, etc.) and reconcile the disconnection to lose the original color gradation, and through the optional color lengthening CMY version of the tone, we can feel that the color gradation has been significantly improved, without losing the original color gradation. But looking at the single version channel, we found that K is still relatively full, occupying the main level, and YMC is still not full enough. We can adjust the curve to make the CMY color heavier to replace the level occupied by K, making the picture more colorful and rich in details , The sense of hierarchy is better. First, reduce the K of the white part of the image (generally 10% is enough), and the sub-bright part (20-30%) should be pressed to achieve the effect of "skeleton black" (Figure 5), which can be expressed For more mid-tone levels in the picture, then lift the CMY intermediate adjustment body upwards (see Figure 6), which enriches the overall color of the picture. Digital pictures are generally relatively virtual, so you need to use the "USM sharpen" or "sharp edges" in the filter to increase the clarity and texture of the picture.
For the darker picture itself, you can use the method of directly changing from RGB to CMYK long black adjustment, because the picture is dark, the details are not rich, the color is not rich, and the contrast is not too big. Too much contrast, so you can directly set CMY to more than 90% and K80% during conversion, which is more conducive to brightening the picture and pressing out more layers. If you want to transfer the CMYK plate tone to long black, you must modify the Photoshop settings. As mentioned in the first point, set the color separation option to: color separation type: UCR; black plate production: less; total ink Volume: 370% (as shown in Figure 7, the change of tone can be seen in the "gray curve graph" next to it). For digital cameras, adjusting the white balance has a lot to do with the color temperature at that time (the color displayed at different temperatures is the color temperature. When a black object heats up and starts to glow, it will first turn into a dark red, with the temperature Will continue to rise yellow, then white, and finally blue, this phenomenon is very common in daily life), under different light conditions, the color of the object will change . If the white balance of the digital camera is not adjusted properly, it will lead to the color cast of the photo. For this color cast image because the white balance is not well done, we only need to make the white part of the picture in the curve to ensure the gray The balance is OK. When you encounter a picture with severe color cast, the adjustment range of the curve will be very large. In this case, you must be bold and careful. Release your hand to correct the color cast, but you must pay attention to the control of the opposite color of each color. Excessive adjustment will also pay the price of increased dryness and loss of hierarchy, and the size should be adjusted when adjusting.
In short, during the color adjustment process, the colorist carefully observes and carefully reviews the manuscript to find out the reason for the poor quality of the digital picture, and the problem is not difficult to solve. At the same time, it also requires us to take into account all factors in the adjustment process, do not lose sight of each other, we will be able to display digital pictures with high fidelity on paper. It should be reminded that the RGB color mode and the CMYK color mode are two completely different color modes. It is not that RGB and CMYK can be freely converted and the color remains unchanged. Every time a conversion is performed, some details and color levels will be lost. The tone of a beautiful CMYK picture after being converted to RGB and then back to CMYK is completely different, and there is no way to switch back to the original tone, so the colors printed are also very different. So please don't save the CMYK image as RGB and save it as CMYK when it is used. This is an absolutely wrong approach and must be avoided. At the same time, we also sincerely hope that photographers can adjust the status of digital cameras according to different environmental color temperatures when taking digital pictures. Under special conditions, color filters such as UV mirrors should be used to filter out blue light and polarized light that should not be in the environment (digital Most of the pictures are bluish, and the color cast is mostly bluish), providing higher quality digital manuscripts for printing.
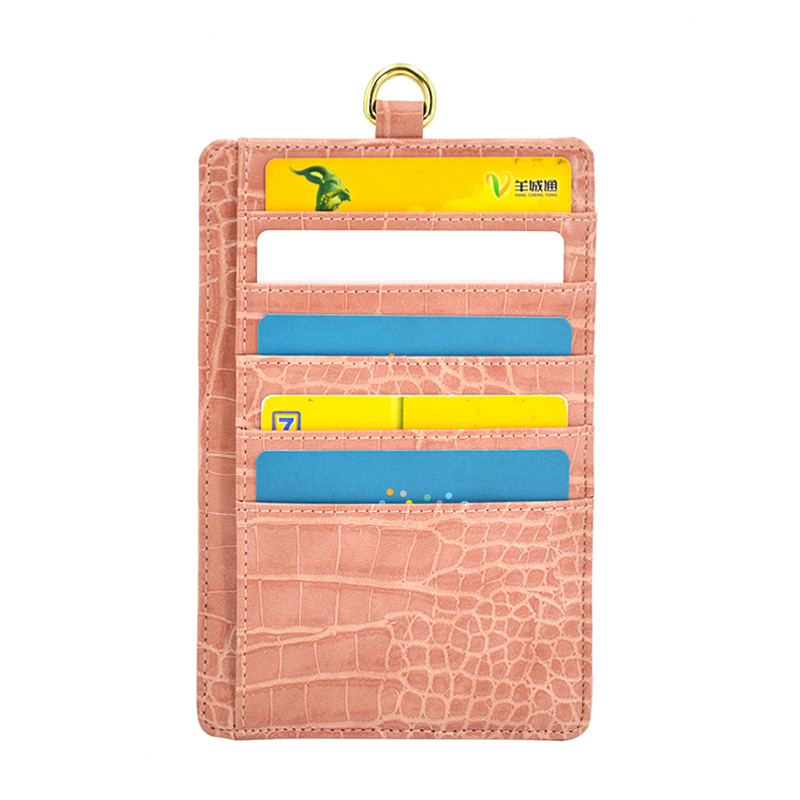
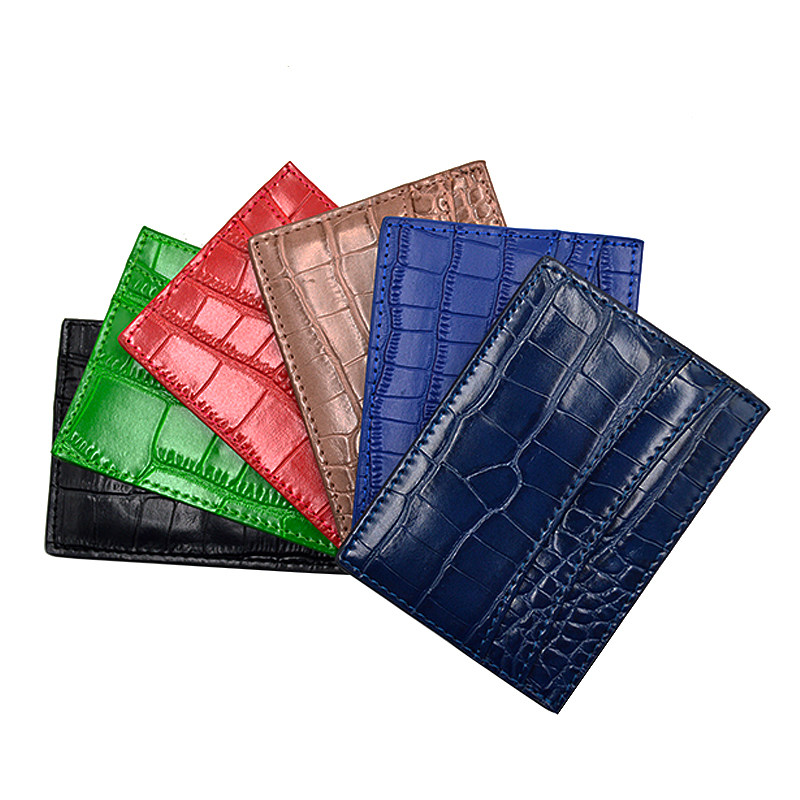
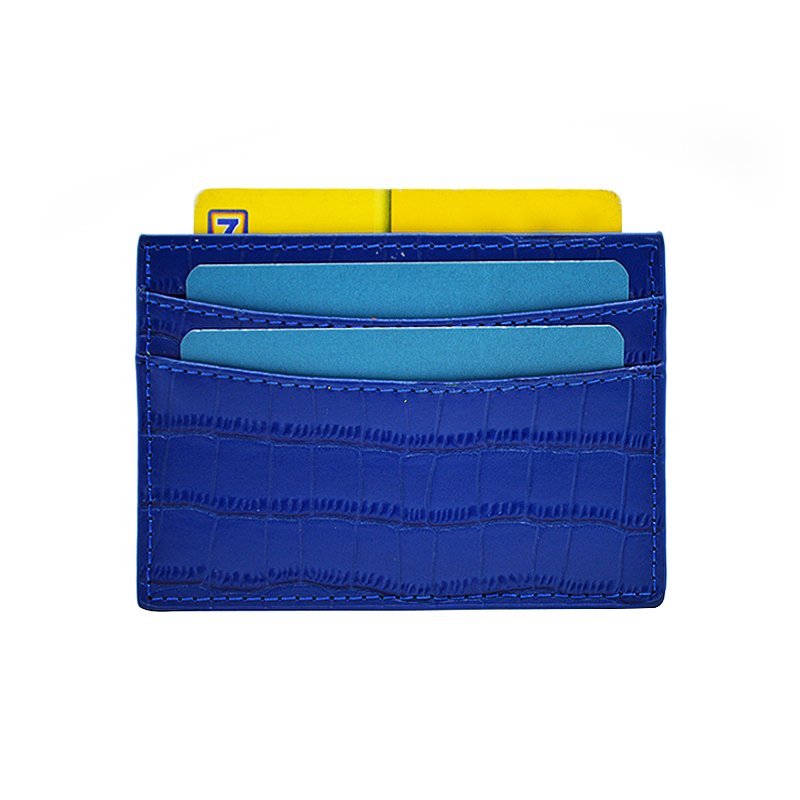
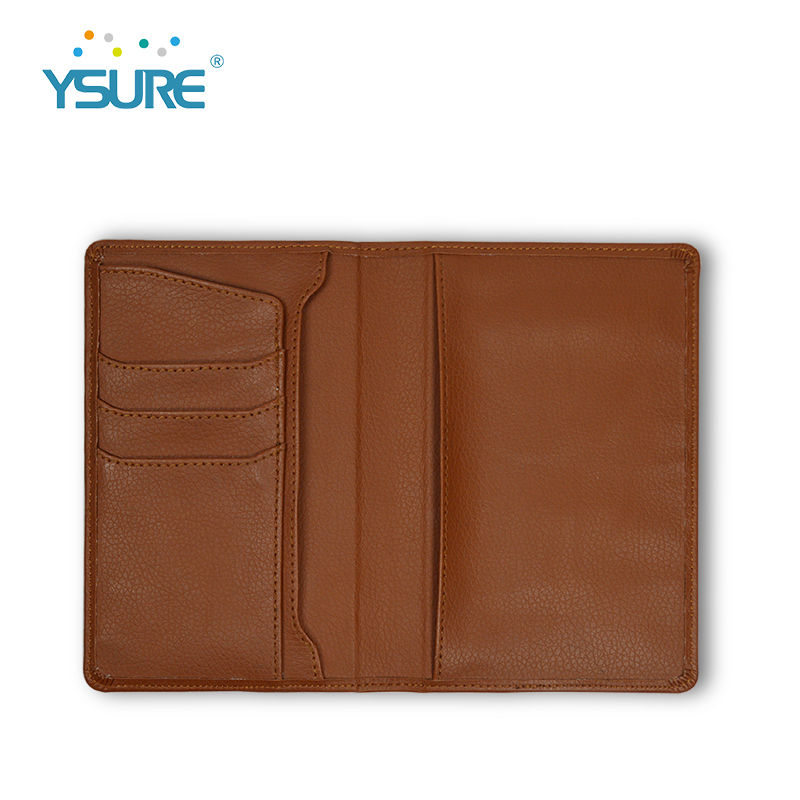
Put the credit card , some small charge and Coin , it will save your space.Many card slots will give your enough capacity .We sell promotion gift Card Holder,leatherbusiness card holder,Credit Card Holder,RfID blocking card holder,wallet card holder,etc.


We employ the most creative designers and tech brilliant engineers to make the best cases. We believe our high-quality products with competitive prices will satisfy your needs.
The productive process :
Make the Products Mould –Cutting the fabric –Do the half products – Finish products – Cleaning –QC- Package – Shippment .
Leather Gifts,Leather Card Holder,Leather Id Credit Card Holder,Ultra Slim Leather Card Holder
Guangzhou Ysure Electronic Technology Co., Ltd. , https://www.ysurecase.com